Pearl Lettered DIY
/
After brainstorming what to do with the wall space above our bed, I decided to challenge myself to use only what I already had on hand, with the exception of the fairy lights. I love how it turned out!
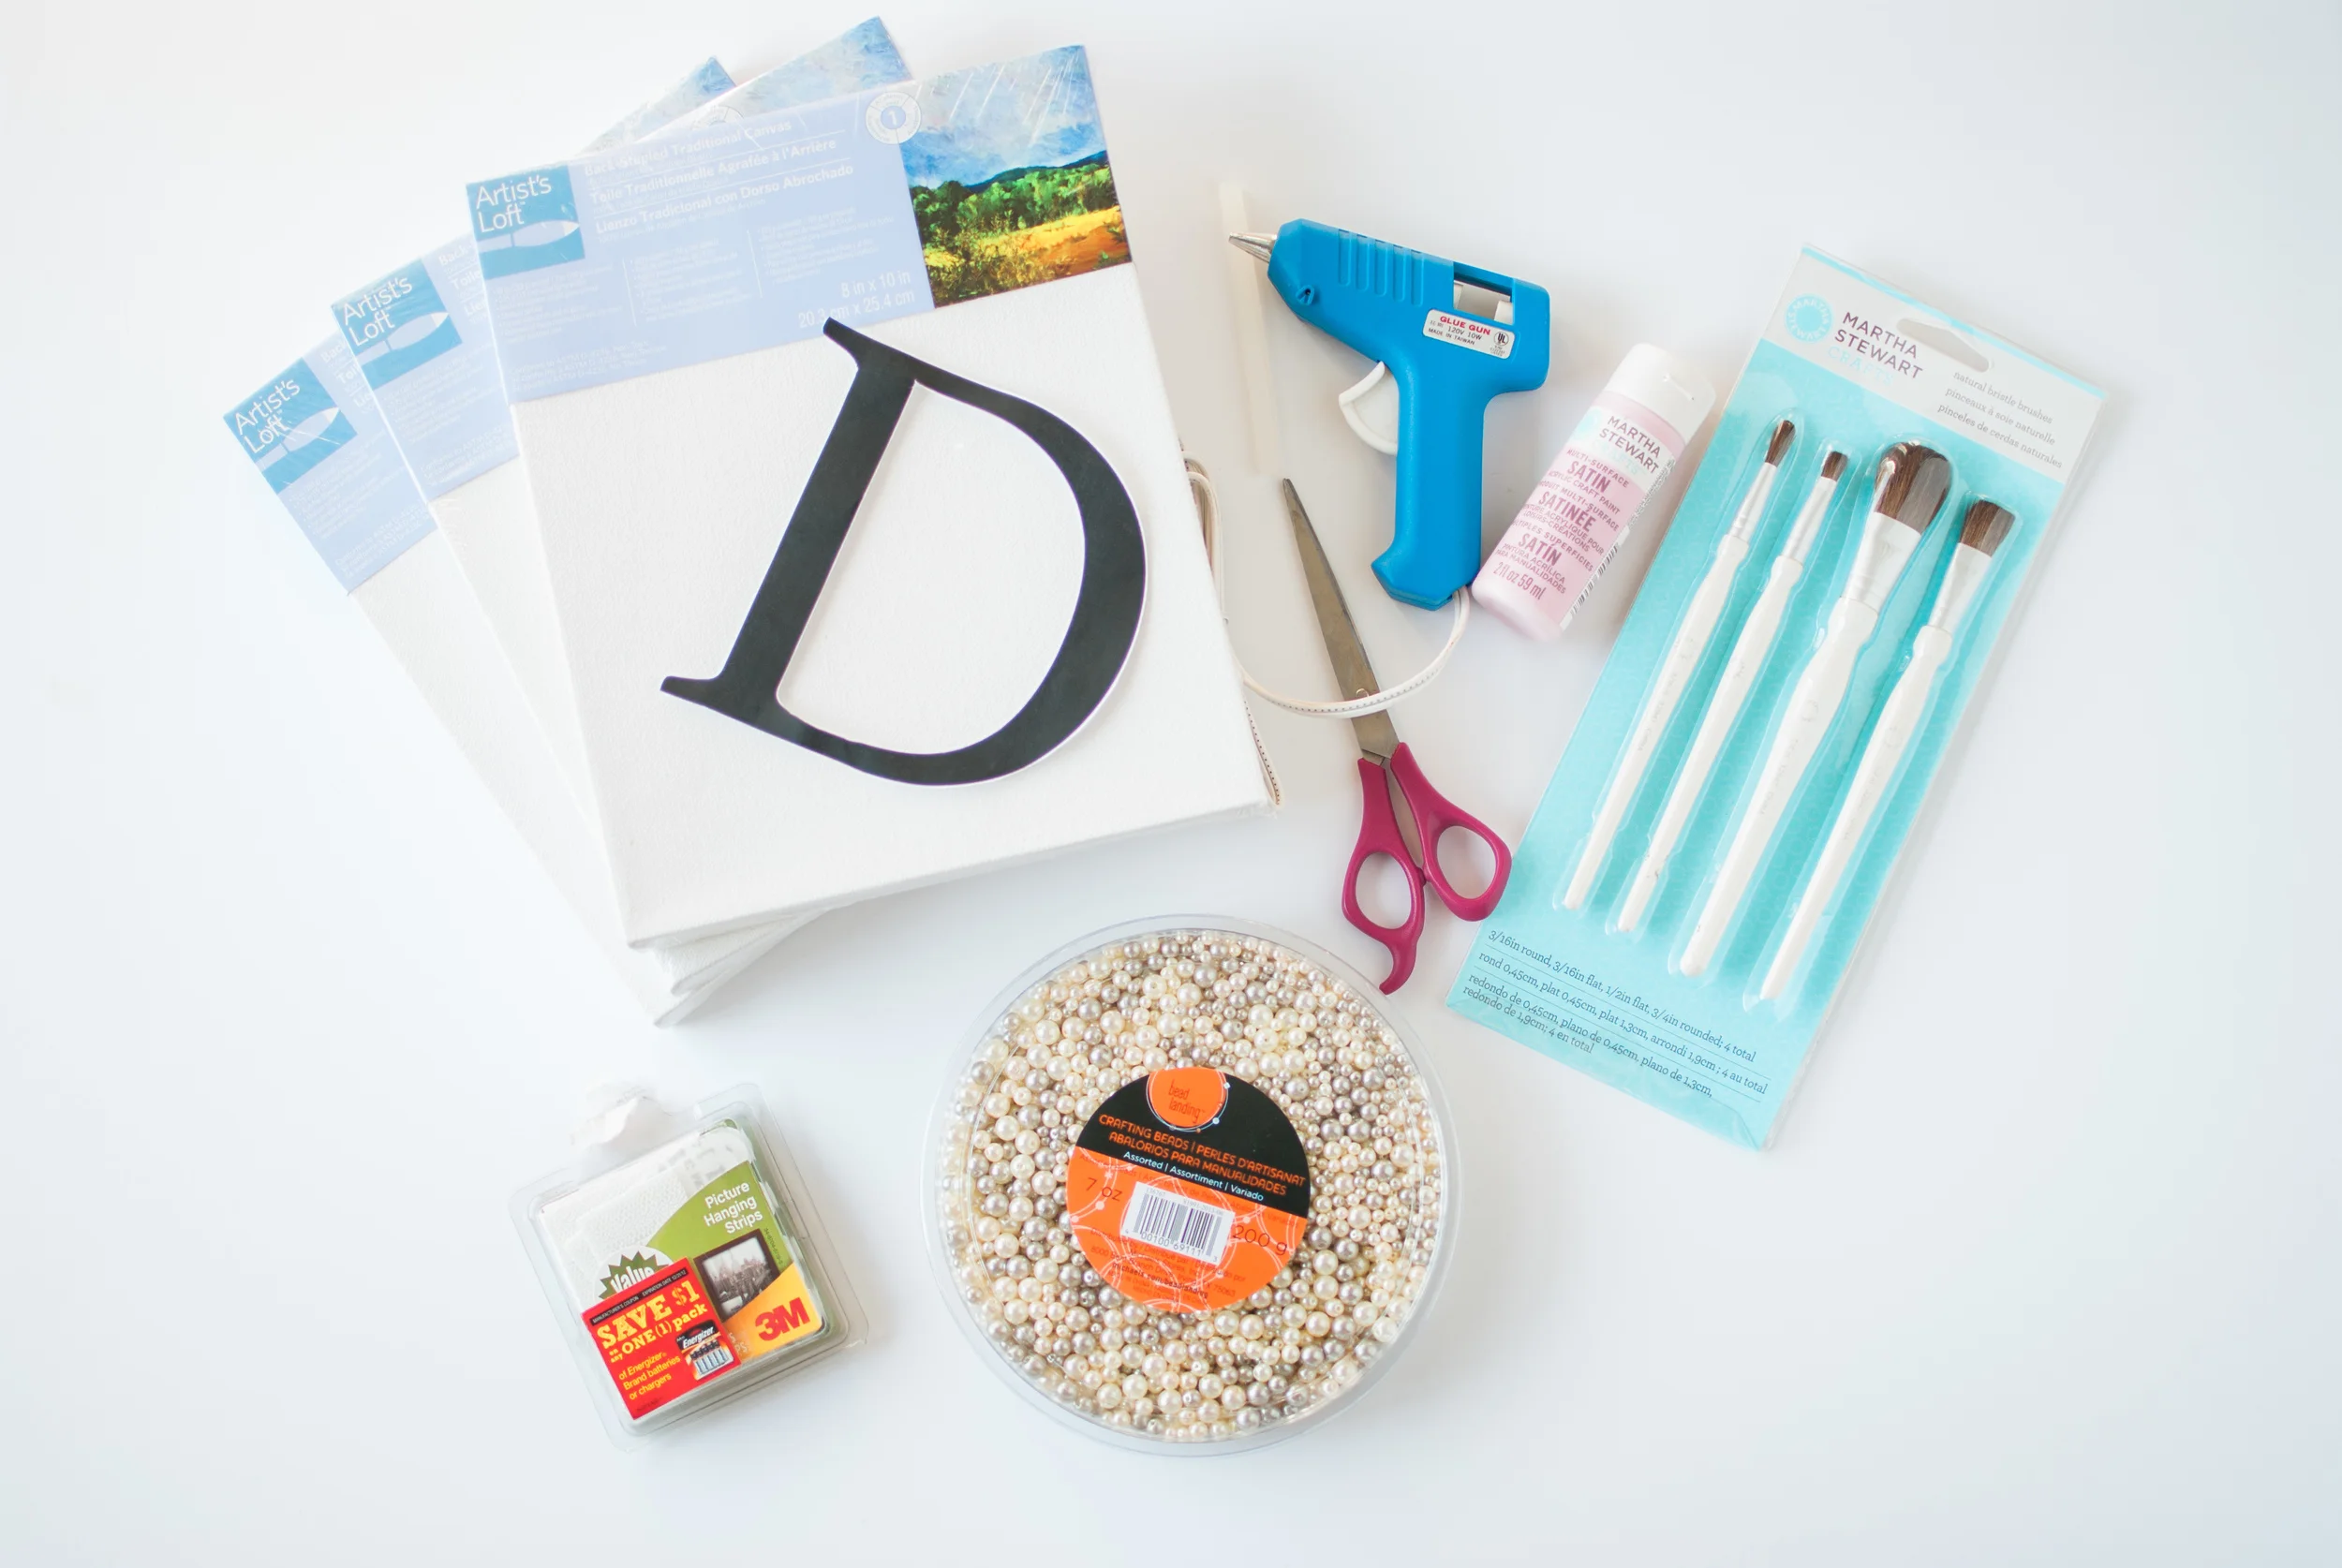
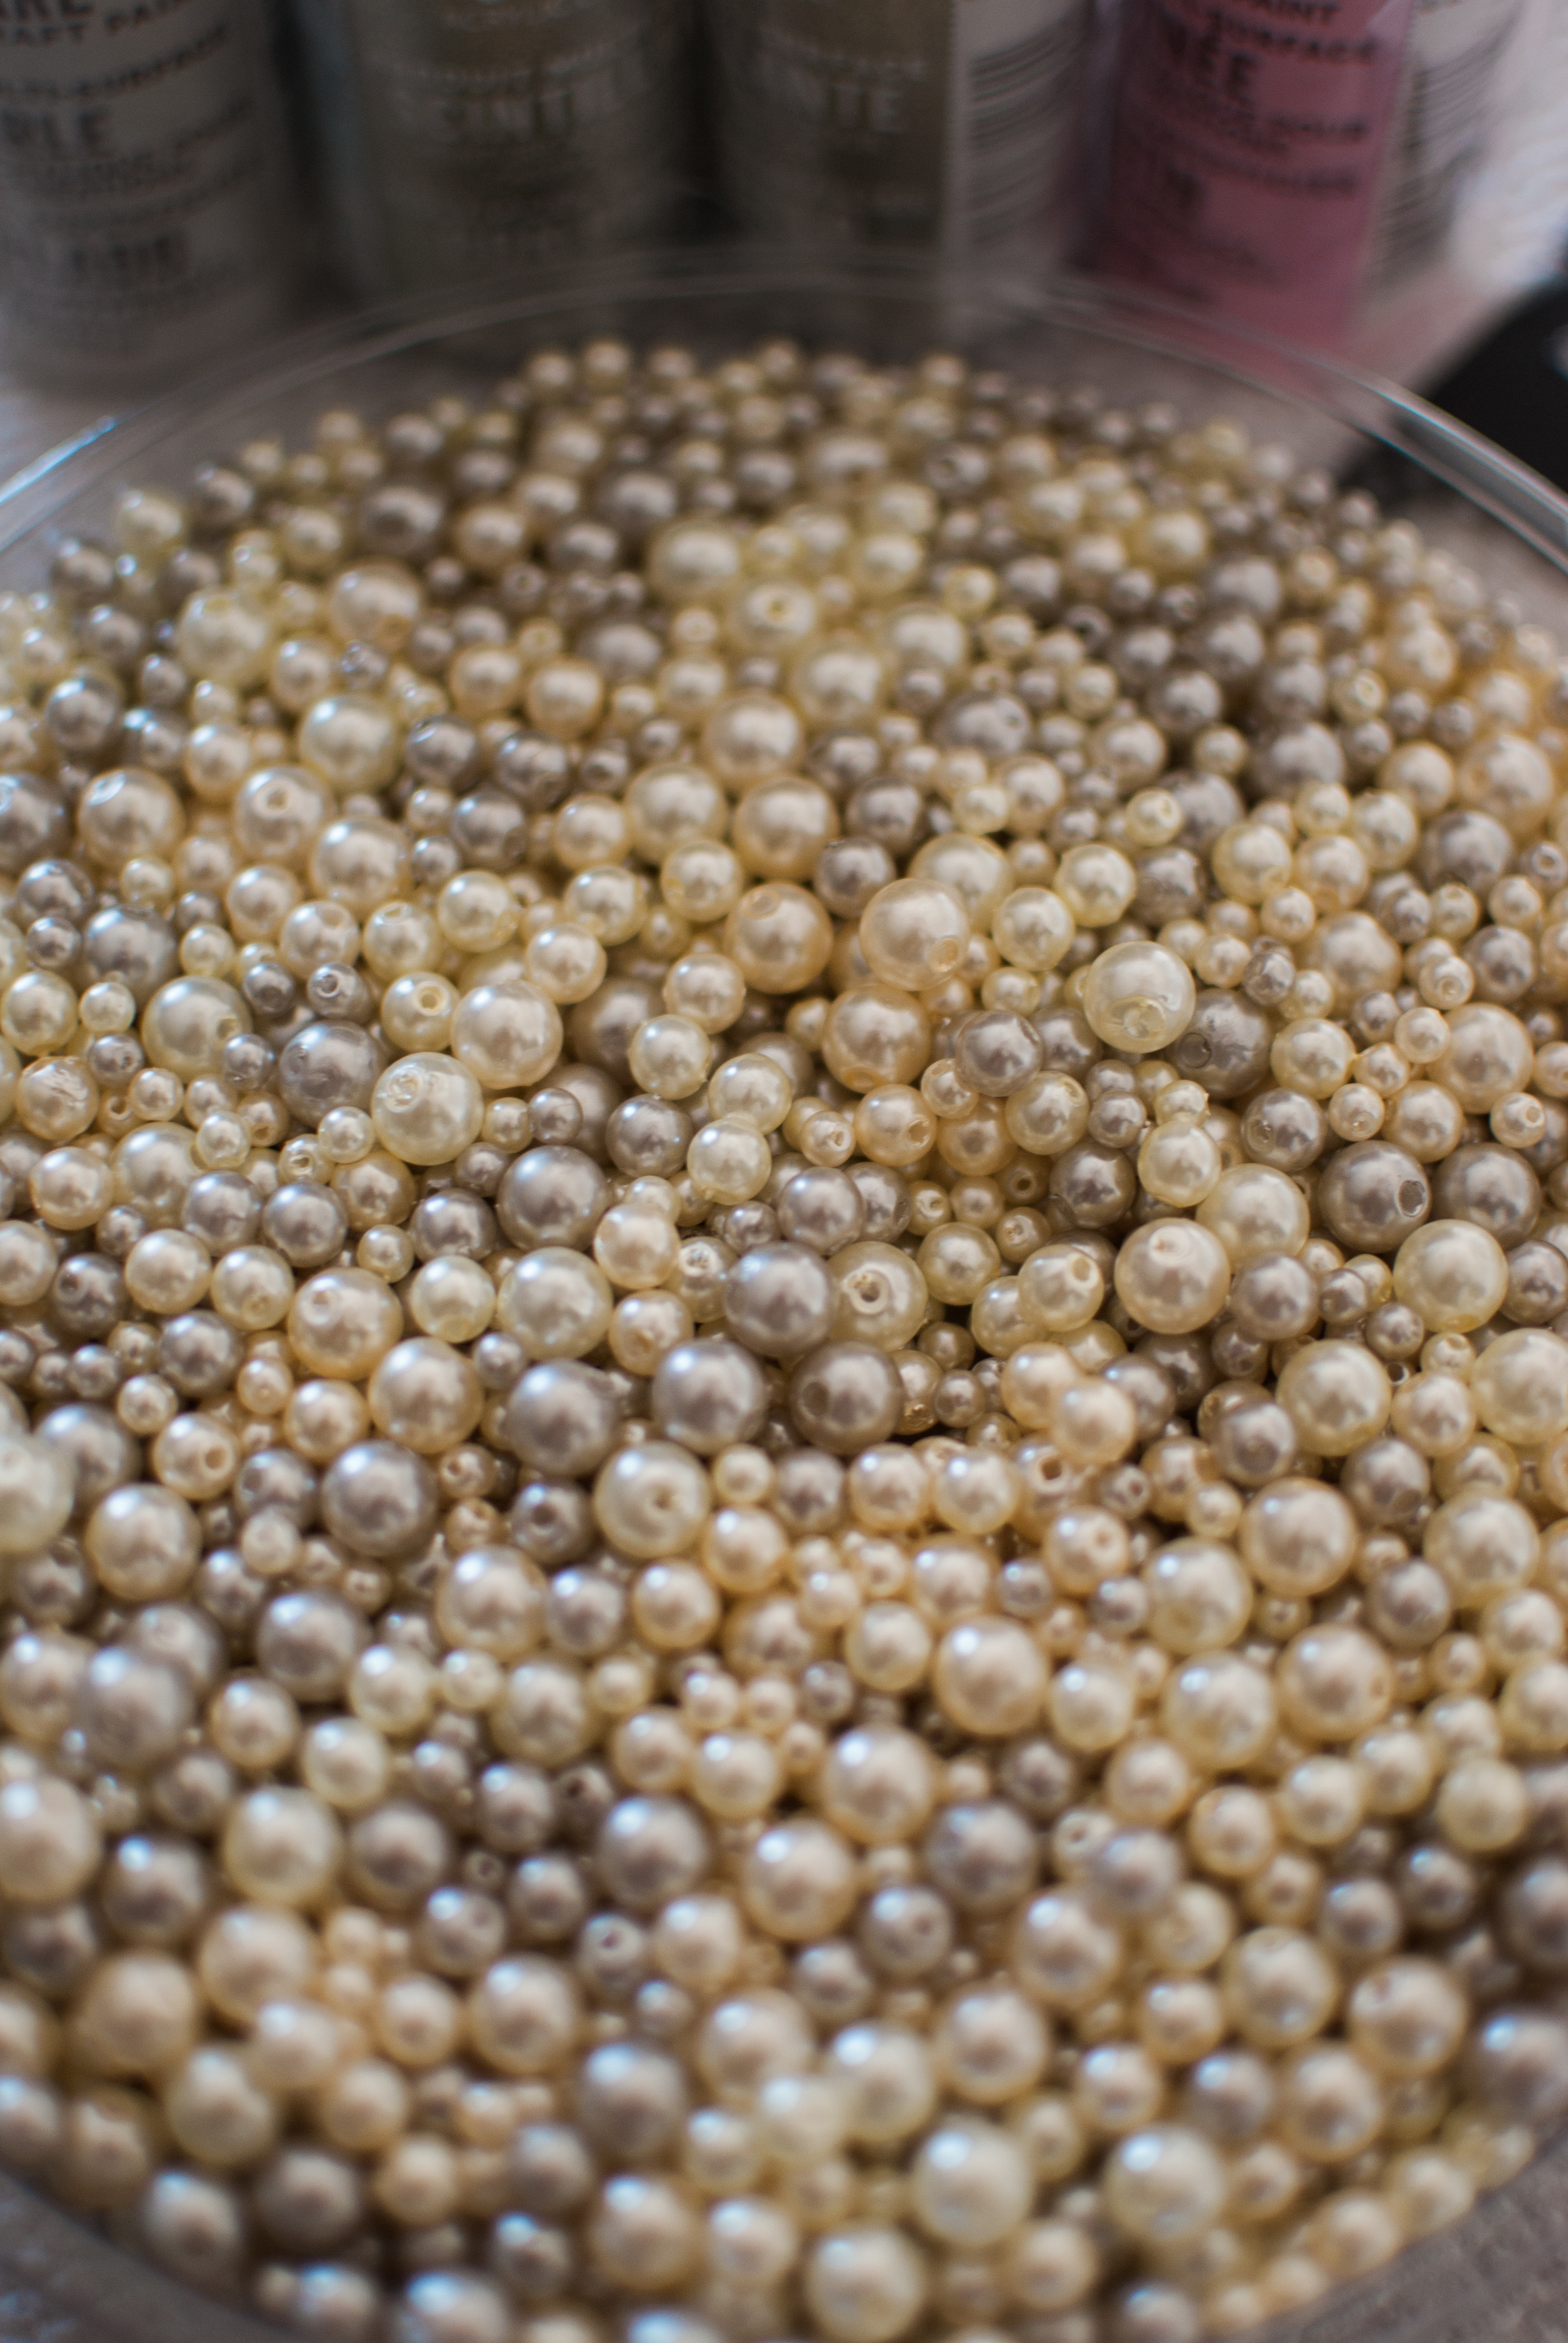
Supplies pictured above: three canvases, scissors, glue gun, *craft paint, brushes, picture hanging strips and craft pearls.
*I ended up deciding not to use the paint (I'll explain why).
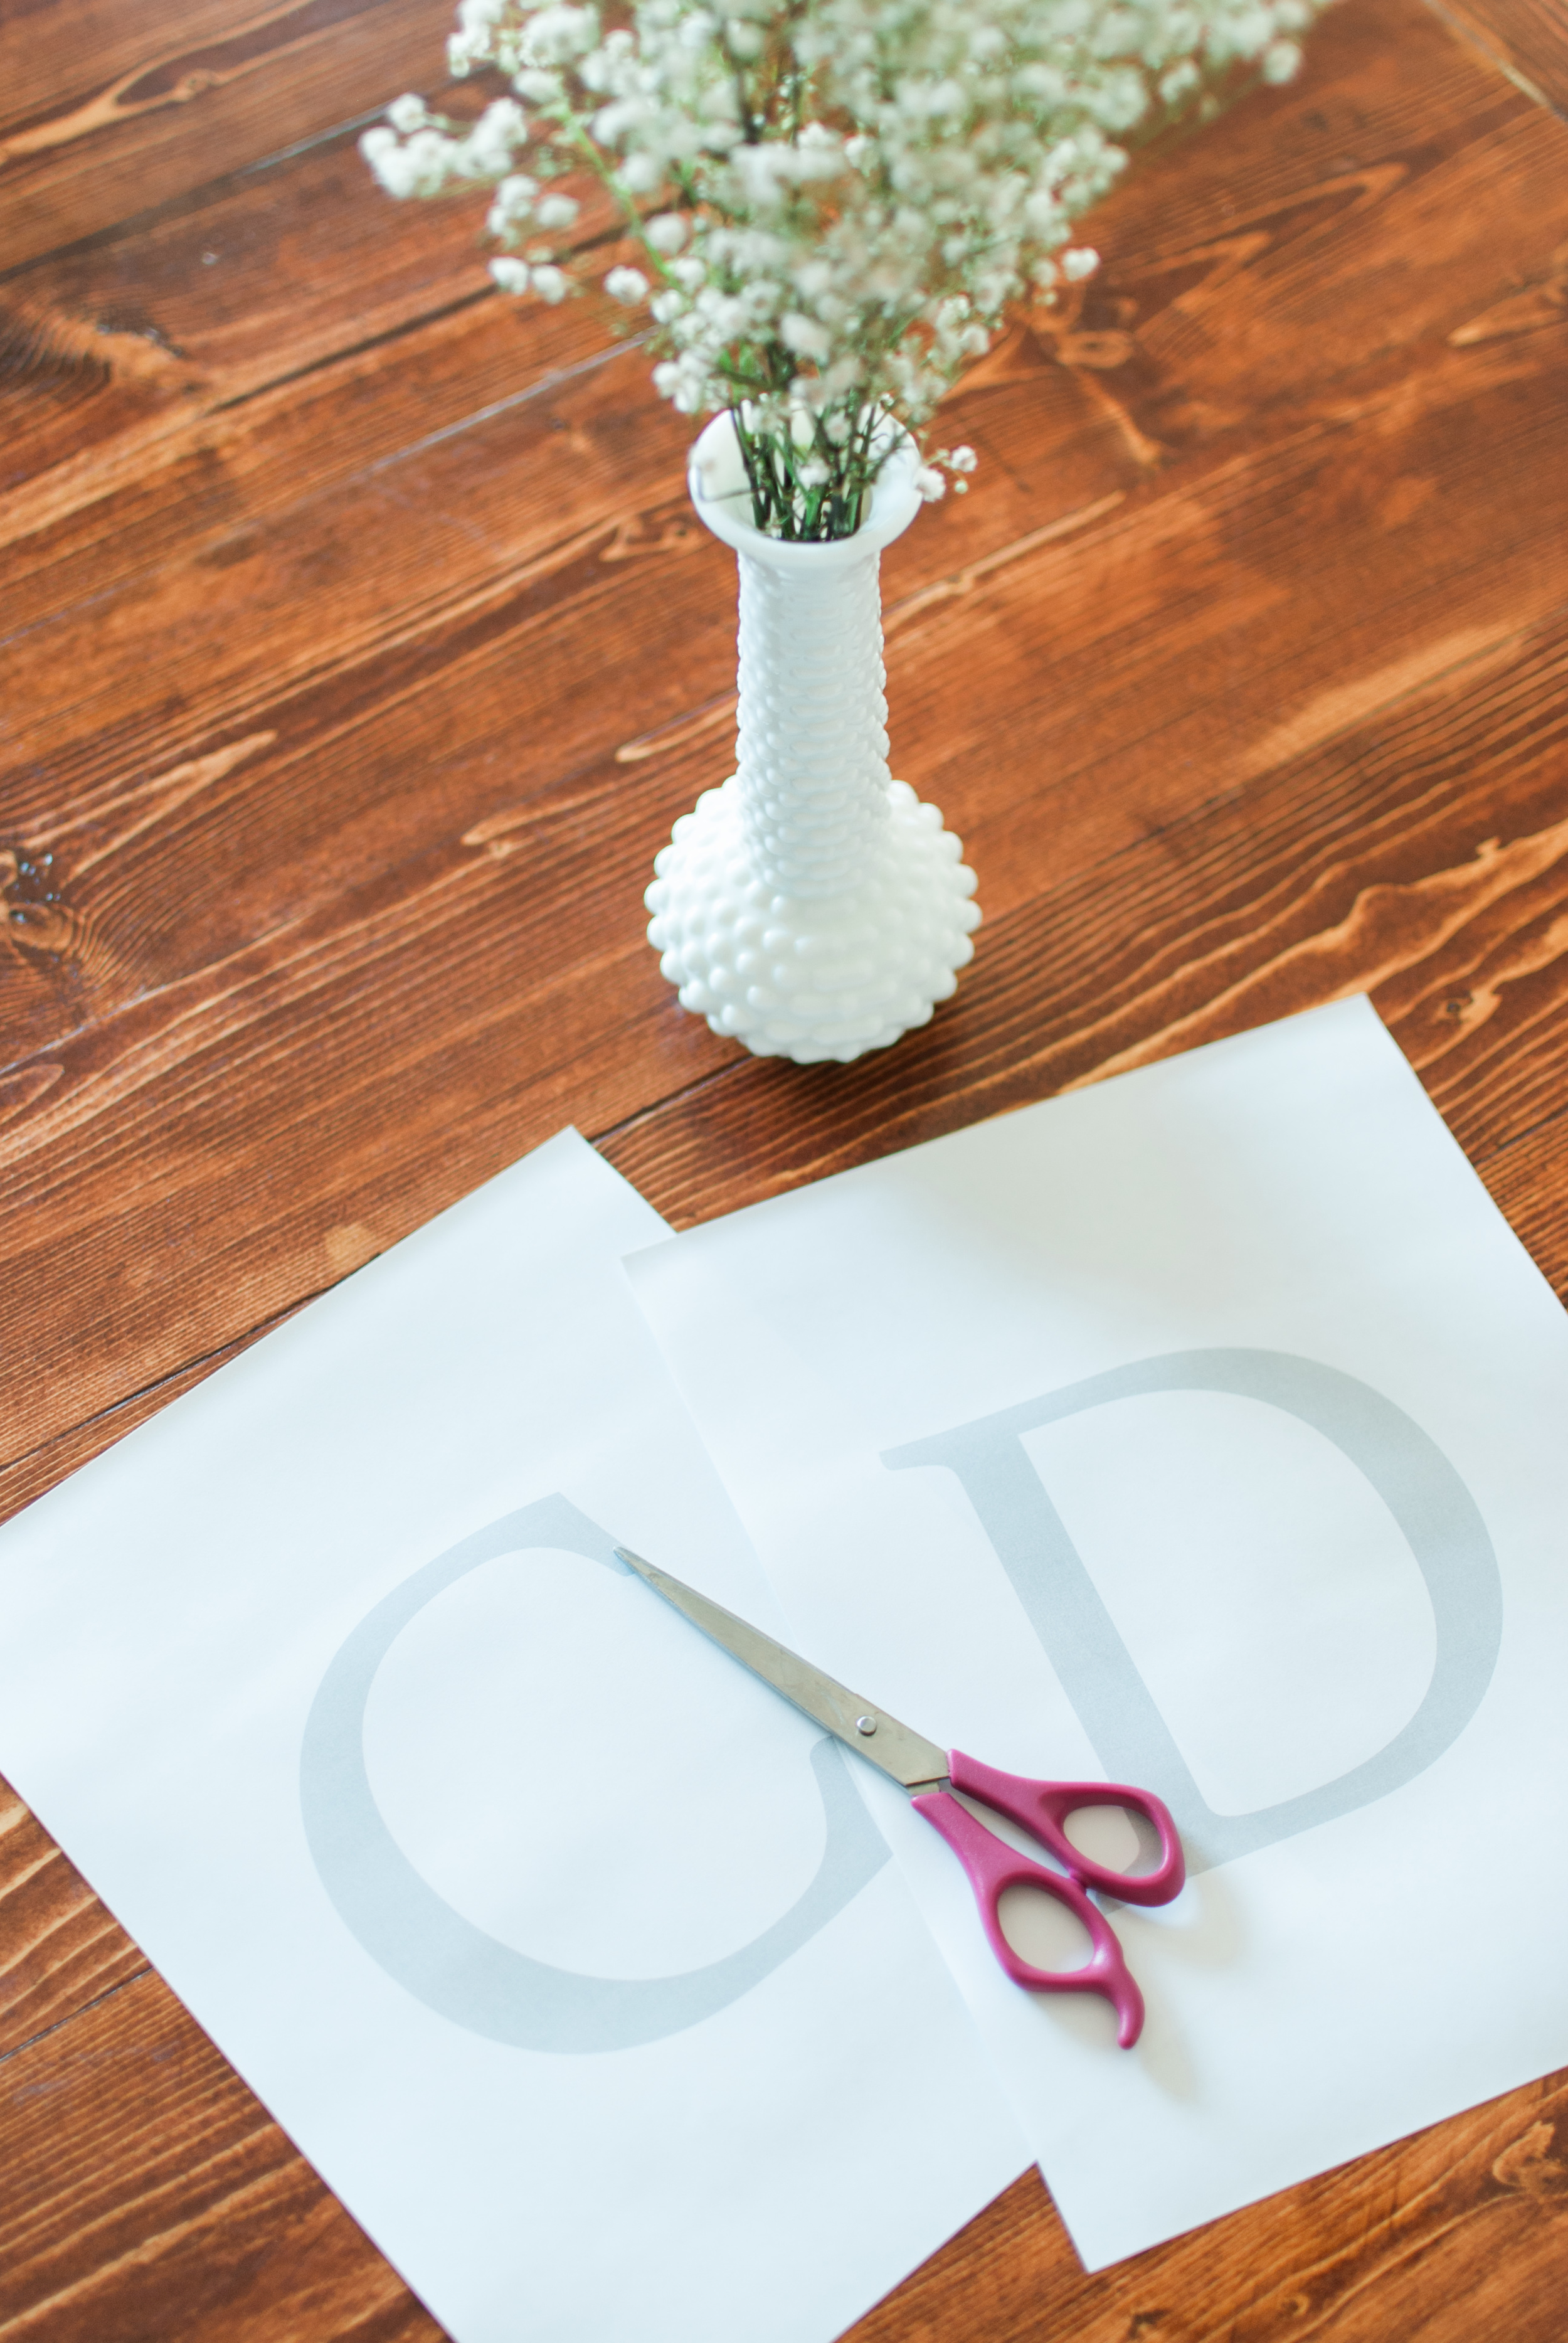
I used Photoshop to create a 8.5 x 11 document (the same size as my printer paper, so I'd have an accurate reference of how big the letters would turn out). You could also use a program like Microsoft Word, find a font you like, then increase the font size to your preference.

I chose to make the letters grey (as opposed to the black letter seen in the supplies photo) so that the outline wouldn't show through as much after glueing on the pearls.
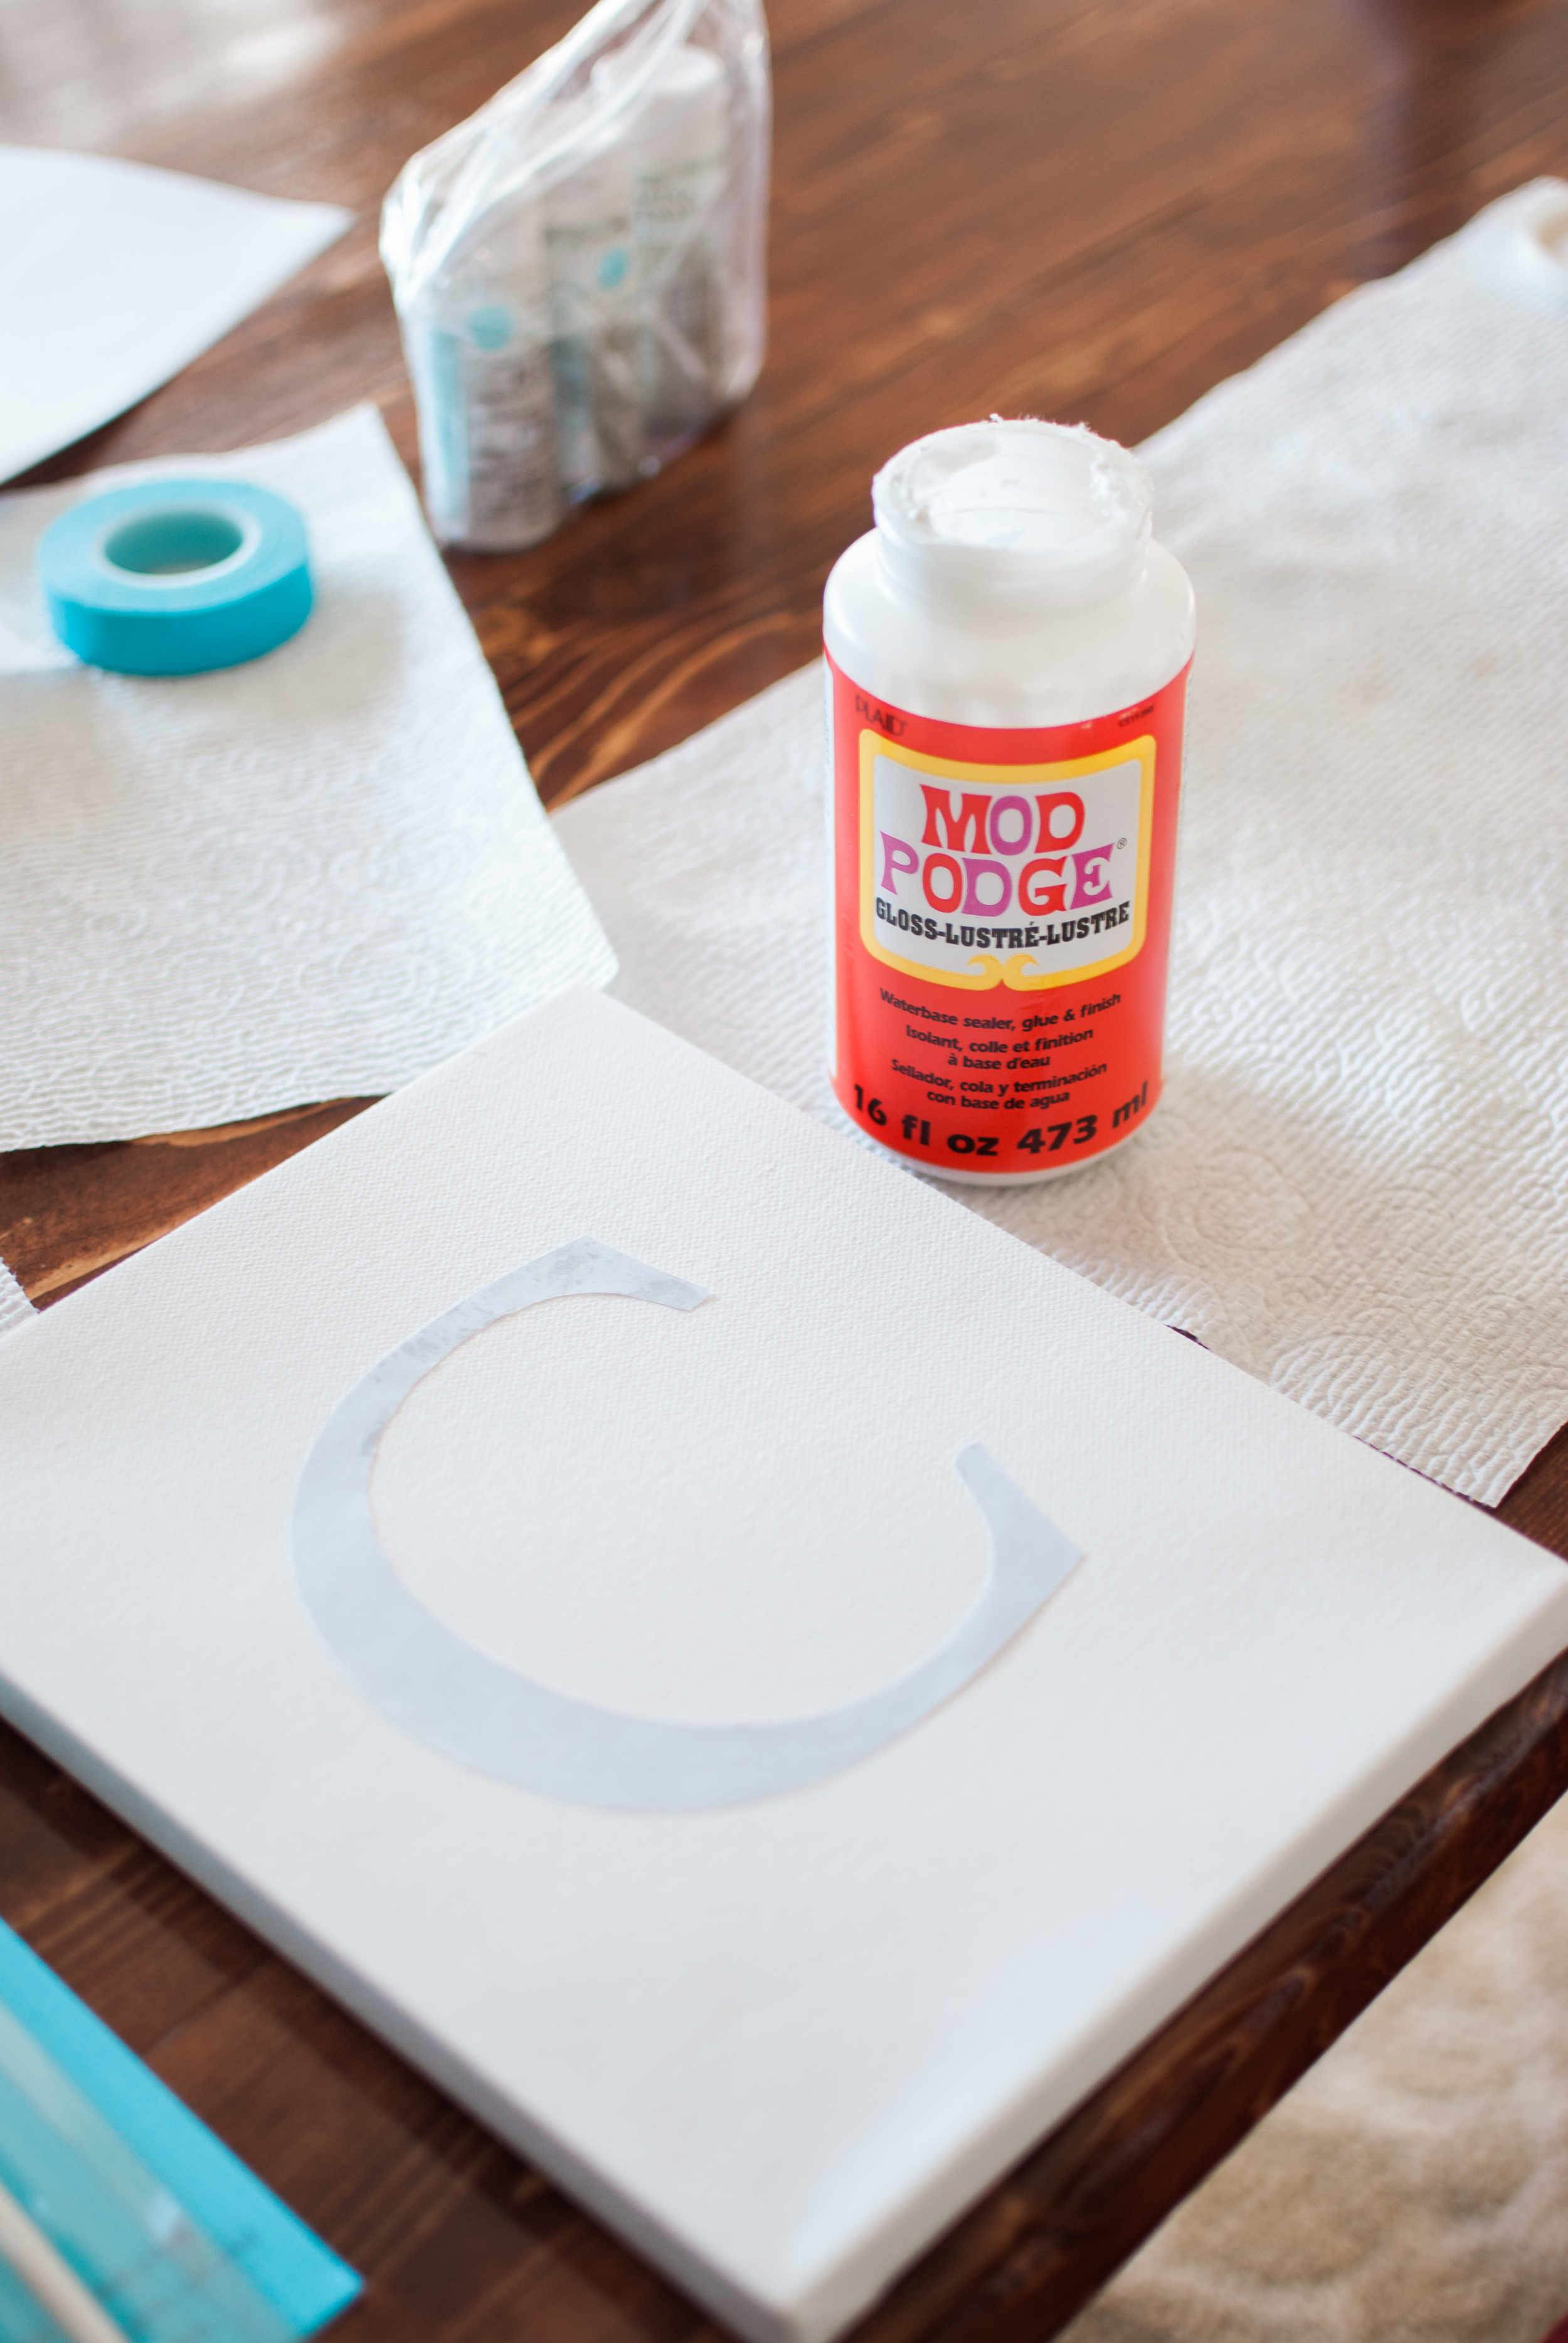
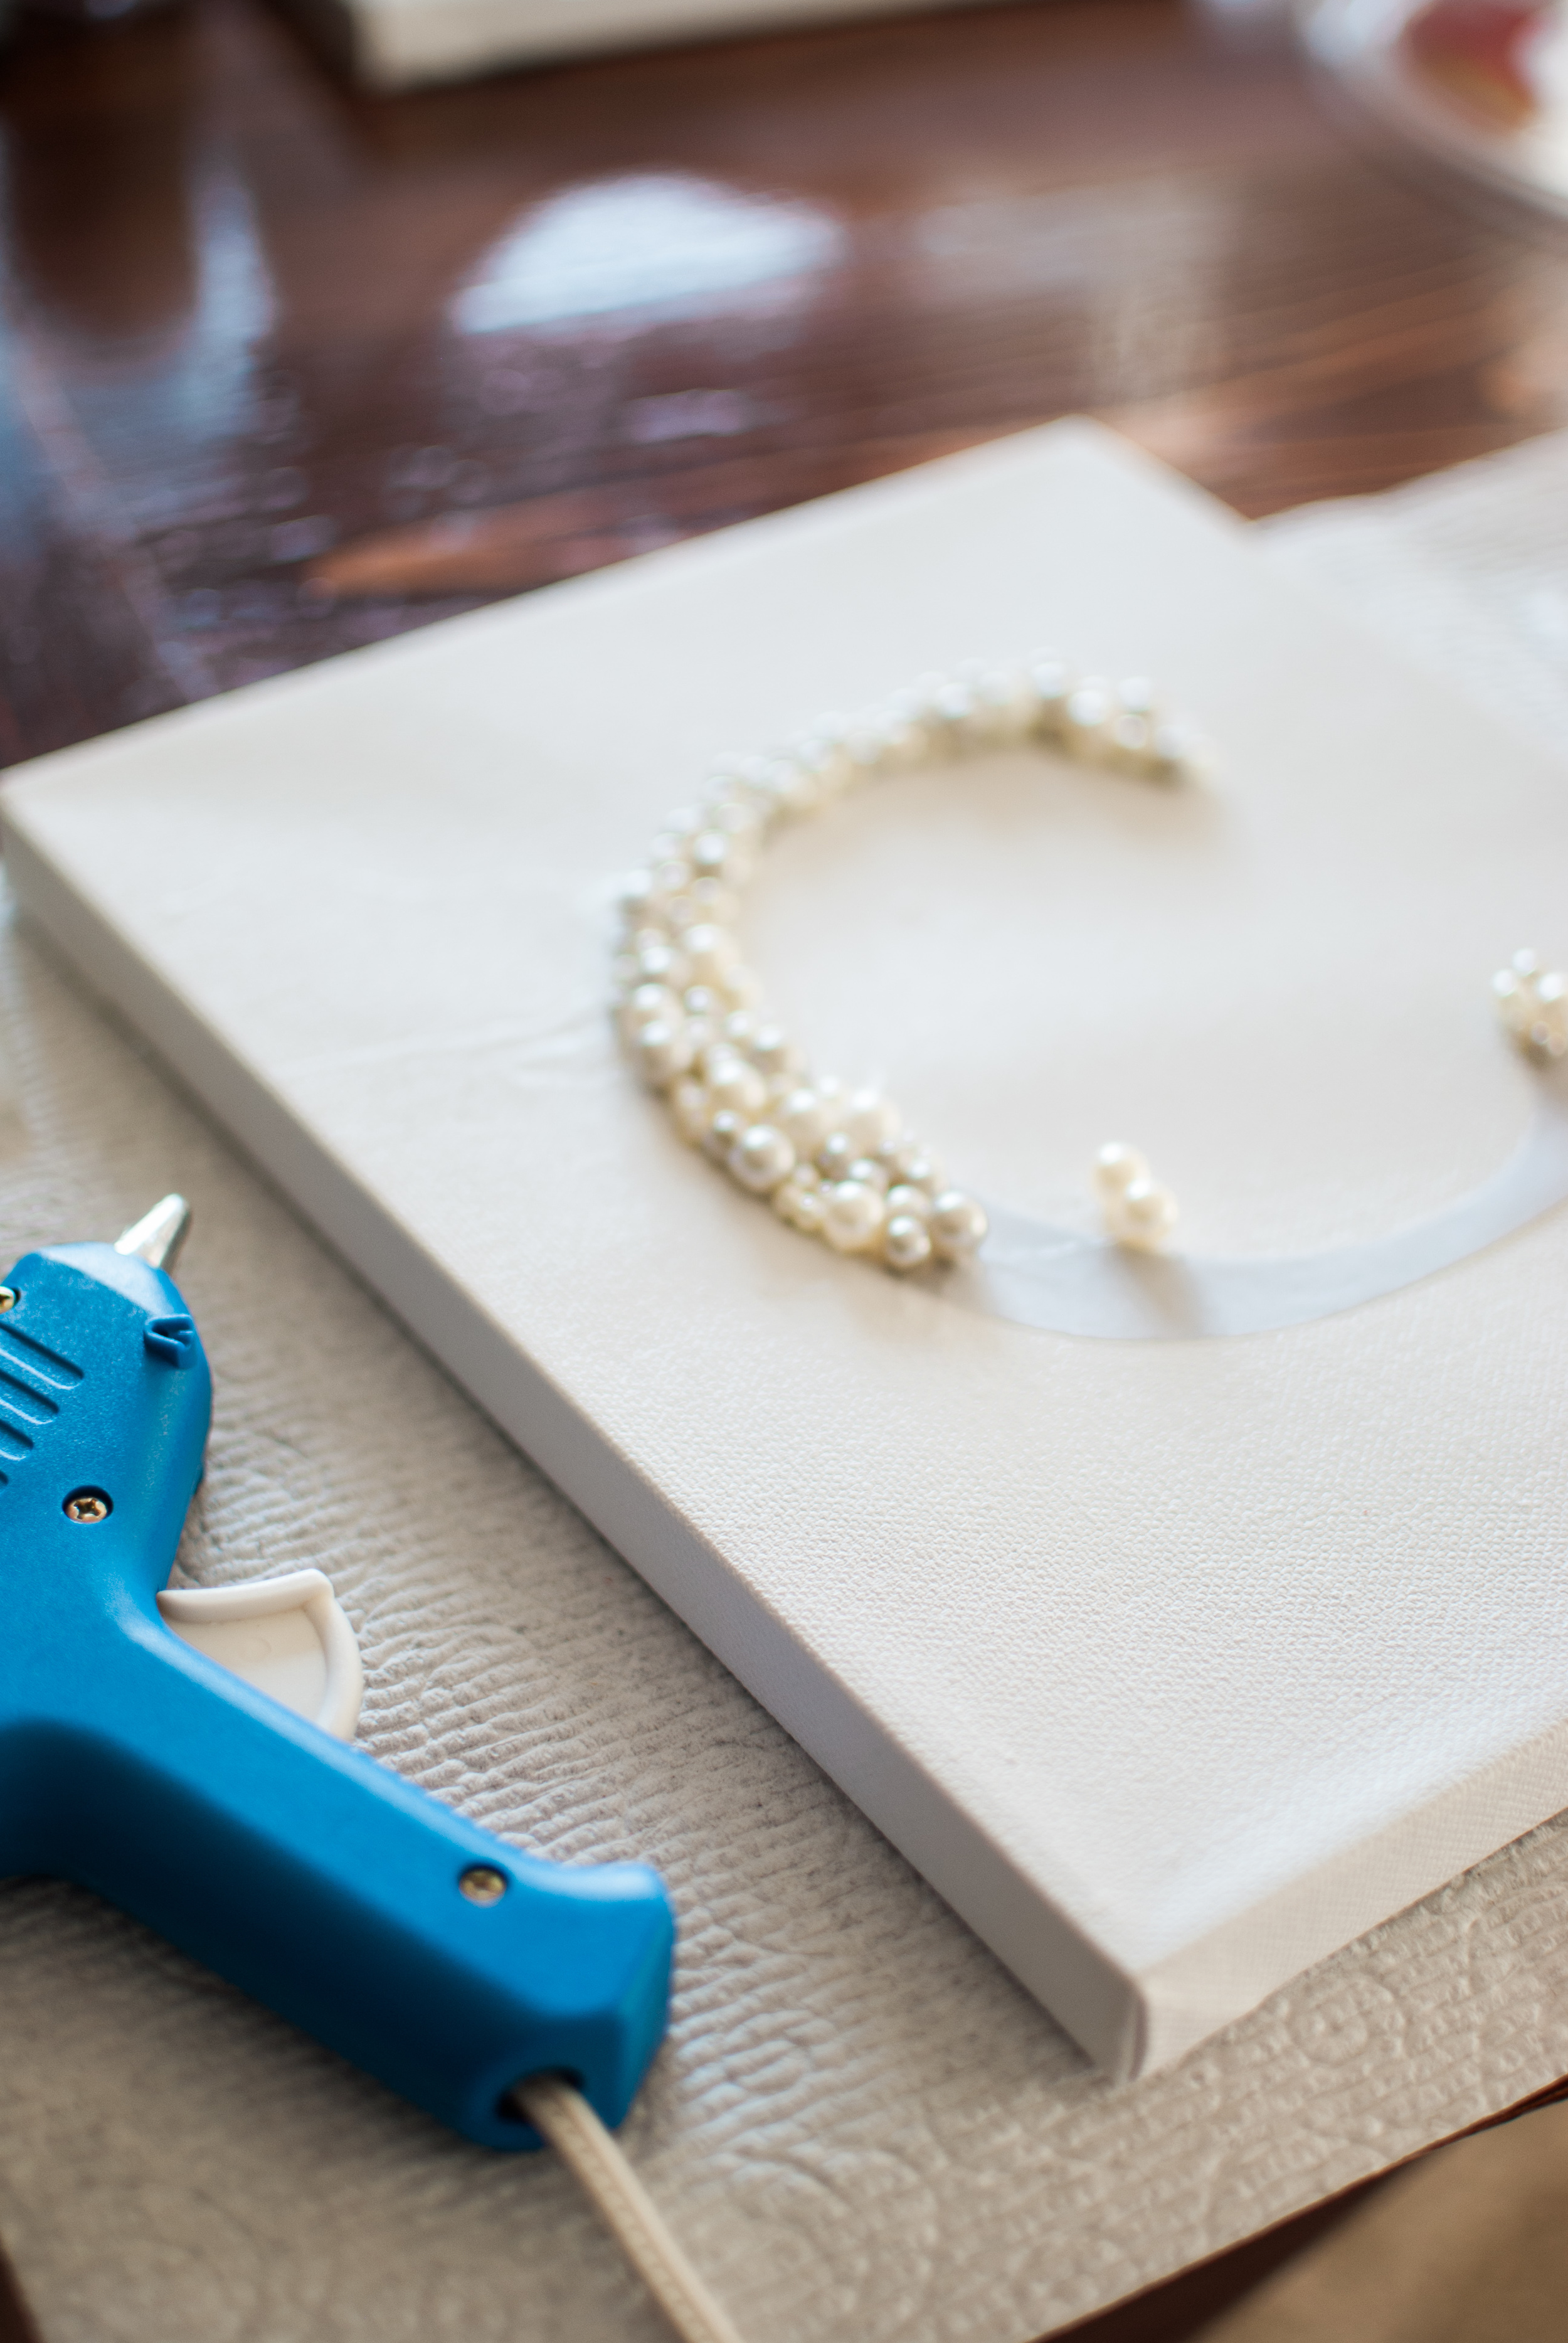
After cutting out each letter, I brushed Mod Podge on the back and pressed them against the canvas. Once the letter dried in place, I used the glue gun to add the pearls on top. I tried to vary the sizes as best I could, but didn't over think it.

Here's the finished product!


I was going to paint over the ampersand in the middle, but I actually ended up liking the grey letter by itself and decided to leave it that way. Other than the fairy lights, which were easily hung using clear tape on each corner, I used supplies I already had stashed in my craft drawer. This is a breeze to customize and would be a perfect addition to any gallery wall, nursery, etc.
I hope this sparks some good DIY ideas. Let me know if you try it out!